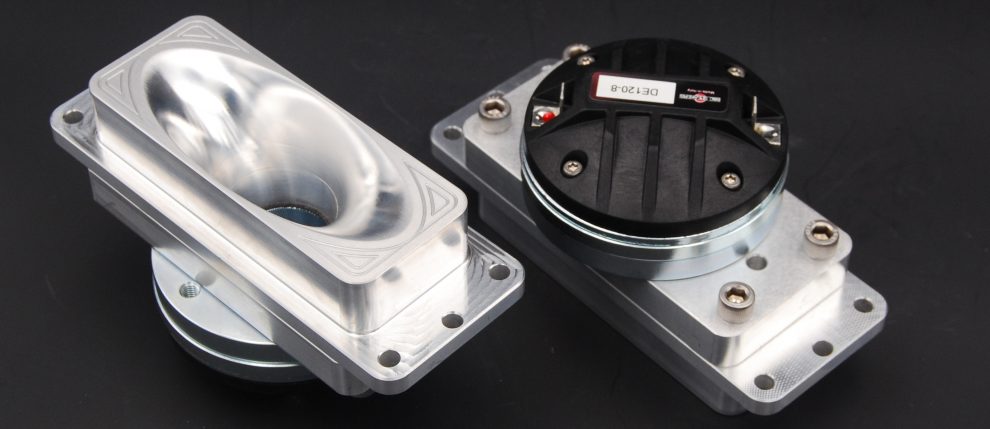
Here is a part that slipped through the cracks of QA which happens when everyone is in a hurry. This was a panic order and after delivery my customer made mention of a little “ridge” on the inside of the cavities. He said it was not problem and it worked fine so we left it there. Time passes and I decided to have a look at it last week and see what he was talking about. There was more than one problem and in the following video I will show how easy it is to fix these problems in Solid Edge.
Now there are a couple of things I would like to point out here. Synchronous editing in SE is not at all like direct editing or “move face” in SolidWorks. Throughout the edits I will do in SE there are not any additions to the Pathfinder or “history tree”. When changing existing features the part complexity does not change. Also the file sizes change very little and they are not cumulative adding steps with every alteration. In addition even though features may be consumed driving sketches are not and these can be reused at any time. Of course with imported parts this is not possible and if you are worried about this I would advise you to make some sketches of features before you delete them. Once you save you can’t go back. Another option and the one I prefer best is to just save a renamed copy for use if need be.
I don’t know how “move face” would work with SolidWorks in assemblies and I have not found a video on-line that would show me. I am VERY interested if anyone knows of such a video as I would like to do a comparison between SE and SW. Please send me a link if you have one. Now in order for there to be a useful comparison the link must show the history tree in SW to allow for a direct comparison of file size and complexities.
Here are two screen captures reflecting file sizes from before and after the edits in SE. Please note the file sizes and how little change there is.


And here is the video.
I would like a word with all the Solid Edge users that may see this. Each and every one of you have something of value to contribute to the community in some way. When I post videos on how I do things I do not say it is the best way, nor the only way, it is just the way I do it. Part of my purpose in posting is to generate a community of INVOLVED people with SE. If you have a better way or a different way why don’t you contribute what you know? I am willing to post here both worthwhile comments and videos with accreditation to contributors. In addition there is an official gathering site
http://community.plm.automation.siemens.com/t5/Solid-Edge-Community-Blog/bg-p/solid-edge-news
where you can contribute and I know Matt is looking for volunteers who are willing to share their expertise. Become a FAMOUS WORLD RENOWNED Power Contributor. 😉 I even created this wonderful moniker which will accrue much prestige upon you so how can you lose? Just do it.
Now if I were Siemens I think I would be providing a little incentive here for contributors. Perhaps free attendance and transportation to SEU 2014 for the best user contributor of the year. Another worthwhile incentive might be a free years maintenance as prizes for notable contributors. Or a gift card of equivalent value for contributing employees of a company where a years free maintenance would not mean much. I bet you creative marketing types can figure some things out but don’t be tightwads. At the last user group meeting in Huntsville Saratech contributed a graphics card as a door prize just for attending. Of how much more worth is an individual who is willing to take his time to share his knowledge and show the world how users deal with CAD creation and editing? Perhaps it is time for Siemens and SE to step up to the plate and let users KNOW they value contributions to the establishment of a vibrant users community. Is there really any reason why this should not be so except that Siemens has not spent the time nor created inducements? I want to make it clear I am not trying to get these things for myself. I chose years ago to do this because I believe in the product and in the Value of community. But I know it is a rare individual who will make this type of decision based upon a goal that does not materially and directly compensate them for their time or effort. So I am asking for two things here. That any individual that feels they have productive methods or tips and tricks to consider showing all of us how you do it. And that Siemens start motivating those who would not otherwise consider contributing that they VALUE contributors. I mean you Siemens guys do don’t you? Quit being cheapskates and get on the ball.

ANyway to get a copy of the files to play with?
Looking at the cutout I would think all you would need to do is to make the faces coplanar if their is a size change or move the faces from a point to point location to center.
Sent from Windows Mail
Hi Ryan,
Yes I will send it to you but do not share it. The reason I chose this way is that using the cavity in the base block as a template I know the result will be precise and a perfect match. I have to admit I had not thought of doing it in co-planar. With my way of thinking I wanted to have an exact duplicate and since it was an assembly I had a perfect “sketch” already there to use.
OK Ryan,
There are additional reasons to do it my way on this one. It will require matching more than just planar faces as you will see.
Hi Dave,
I’ve read your challenge and made two videos about my solutions.
As you has already mentioned there are many solutions not just one or two… 😉
1. Direct editing on part level.
2. Direct editing on assy level.
Of course we can mix them!
BR,
Imi
OK here we go. Imics13 has a couple of videos for us. I don’t think there is audio with these or at least none showed up at my end. Imics, was this done with the YouTube video thing in SE? Imics by the way took his own time to generate the parts here as I had not sent him the file. Big tip of the hat for being willing to contribute.
Dave,
Usually videos haven’t audio or have hungarian audio on my youtube channel. I’ve done them with camtasia, but sometimes have already used SE’s video recorder…
This example very good for synch to show flexibility, productivity… Real problem, real solution in real time.
Br,
Imi
Imics13-
Thank you for your video I picked a couple tricks.
My primary goal was not to delete and generate new surfaces in attempts to maintain any downstream functions like CAM paths or drafting elements on a drawing.
You did a similar process that I first looked at. I’m a newbie to SE but have a couple decades of NX/UG behind me. My first attempt was to try and figure out how to extract the parent faces into the child block and then use a replace face feature. I couldn’t get it to work- probably my skill level.
Next I simple extracted the edge curves into a sketch and then moved the faces to match the curves. That did work.
I then simply started moving the faces and was able to get things to work with the simple move face function. The live rules did work as expected for me.
Dave can comment on how well I did. I may not have been able to match perfectly.
Ryan,
Your SE files never got through. All I had a look at were screen captures. Could you send me your file>
Hi ryan71,
Glad to hear that you picked a couple tricks, this was my goal! 😉
The only way is Replace face to maintain “original” surfaces, what I know. This is a simple geometry without complex surfaces. If the distance should be same round bonecavity, then we can use Offset command in Direct editing group (traditional mode).
Unfortunately there isn’t enough “volunteer” to brainstorming… 😦
BR,
Imi
Ooops and a the video: